Did you know that chipped paint on walls is a common issue faced by homeowners? In fact, it is estimated that over 40% of homes have walls with chipped or peeling paint. Whether it’s due to wear and tear, moisture, or improper painting techniques, chipped paint can be unsightly and diminish the overall appearance of your space.
But don’t worry, there’s good news! You can revitalize your walls and achieve a flawless finish, even if they are covered in chipped paint. In this article, I will guide you through the essential steps to fix chipped paint and restore the beauty of your walls.
Key Takeaways:
- Chipped paint on walls is a common issue faced by homeowners.
- Revitalizing your walls and achieving a flawless finish is possible.
- Following the proper steps can help you fix chipped paint and restore the beauty of your walls.
- Removing the old paint, patching the wall, sanding, and applying primer are crucial for a professional-looking result.
- Repairing chipped paint is a cost-effective solution compared to repainting the entire wall.
Prepare the Area and Remove Paint
To effectively fix chipped paint and ensure a professional and long-lasting finish, it is important to properly prepare the area and remove the old paint. This section will guide you through the necessary steps to prepare the surface for patching and repair.
Gather Your Patching and Repair Supplies
Before starting the paint removal process, ensure you have the necessary supplies:
- Paint scraper or putty knife
- Wire brush
- Safety glasses
- Dust mask
- Drop cloths or tarps
- Painter’s tape
Remove the Old Paint
Begin by using a paint scraper or putty knife to gently lift off the peeling paint. Be careful not to damage the surface of the wall while removing the paint. For smaller pieces of loose paint, a wire brush can be used to remove them.
Remember to wear safety glasses and a dust mask while removing the paint to protect yourself from any debris or dust. It is also important to lay out drop cloths or tarps to protect the floor from any paint chips or dust. Additionally, consider removing furniture from the area or covering it to prevent any accidental paint drips.
Use painter’s tape to protect trim or baseboards from paint drips and create clean edges for your patching and repair.
Patching and Repair Supplies Checklist
| Supplies | Quantity |
|---|---|
| Paint scraper or putty knife | 1 |
| Wire brush | 1 |
| Safety glasses | 1 pair |
| Dust mask | 1 |
| Drop cloths or tarps | As needed |
| Painter’s tape | 1 roll |
Patch the Wall
Once you have successfully removed the chipped or peeling paint, it’s time to patch the wall and fill in the areas without paint. Depending on the size and location of the damaged area, different repair supplies can be used to achieve a seamless finish.
Small Areas
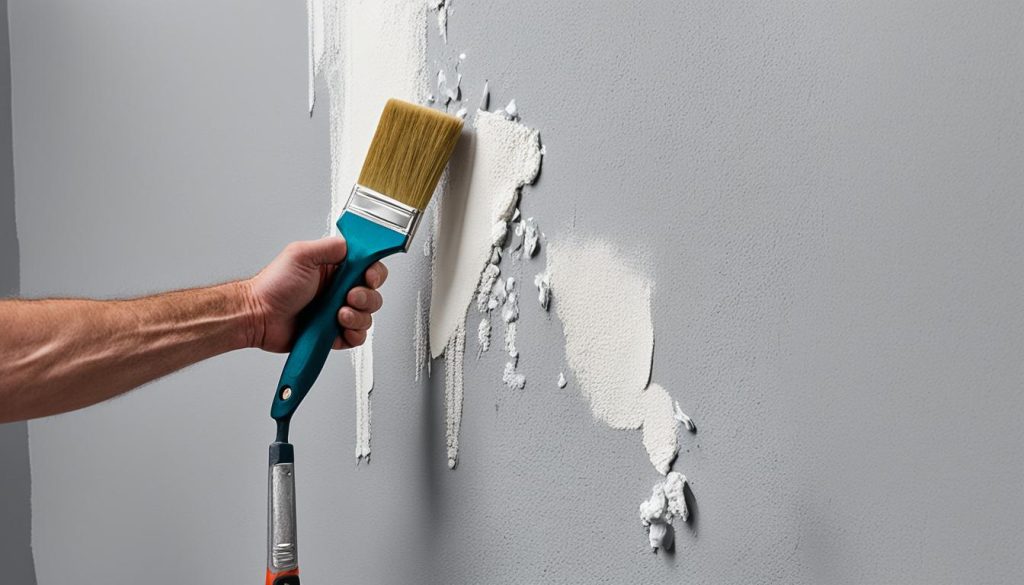
For small areas with chips or peels, spackle or drywall patching compound can be used. Spackle is a lightweight paste that is easy to apply and dries quickly. It can be spread over the damaged area using a putty knife or a trowel, ensuring that it is evenly distributed. Allow the first layer to dry completely before applying subsequent layers if needed.
Larger Low or Shallow Spots
If you have larger, low or shallow spots on the wall, joint compound is a better option for repairs. Joint compound, also known as mud, has a thicker consistency and is better suited for filling in larger areas. It can be spread over the damaged section using a taping knife or a wide putty knife. Apply multiple thin layers, allowing each layer to dry completely before applying the next. This will help build up the patch and ensure a smooth surface once the repair is complete.
Chipped Paint on Wood
If the chipped paint is on a wooden surface, such as a window frame or door, a wood filler should be used. Wood fillers are specifically designed for repairing damaged wood surfaces. Choose a wood filler that matches the color of the wood and apply it to the chipped area using a putty knife. Smooth out the filler, ensuring that it is evenly distributed and flush with the surrounding wood surface. Allow it to dry completely before sanding.
Drywall Seams
To repair peeling paint on drywall seams, drywall taping tools are the ideal solution. These tools are specifically designed for filling long cracks and creating a smooth surface. Apply a layer of joint compound to the damaged area using a taping knife, feathering it out along the length of the crack. Allow it to dry completely before applying subsequent layers if needed.
Remember to let each layer of patching material dry completely before moving on to the next step to ensure a strong and durable repair. By patching the wall properly, you will be one step closer to achieving a flawless and revitalized finish.
Sand the Patched Areas
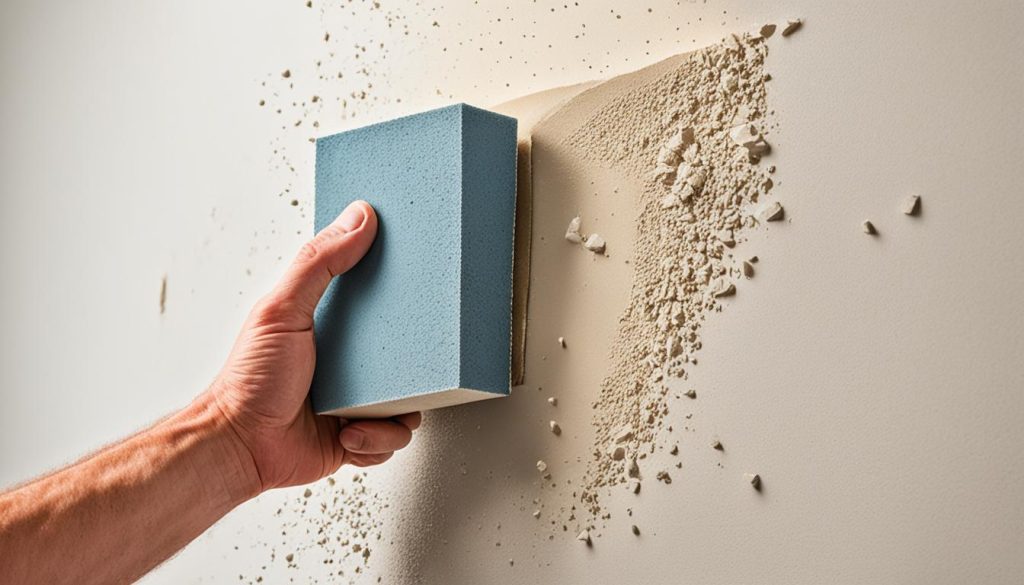
Once all the patched areas on the wall are dry, it’s time to sand the surface to achieve a smooth and even finish. Sanding is an essential step in ensuring that the patch seamlessly blends with the rest of the wall. It helps create a smooth surface for paint application, resulting in a flawless and professional-looking outcome.
There are different options available for sanding the patched areas. Fine-grit sandpaper or a sanding sponge are commonly used tools for this purpose. The choice of sandpaper grit depends on the extent of the patch and the texture of the wall. For small patches, a finer grit such as 220 or 320 can be used, while larger patches may require a coarser grit like 120 or 150.
When sanding, it’s crucial to exercise caution to avoid damaging the patch or the surrounding wall. To achieve the best results, hold the sander flat against the wall and move it in a circular motion or in straight lines. Periodically stop and run your fingers over the sanded area to check for a smooth and uniform surface. If you feel any ridges or rough areas, continue sanding until they are blended seamlessly with the rest of the wall.
If the walls have a textured surface, additional steps may be necessary to match the texture of the patch with the surrounding area. Techniques such as sponge sanding or using a textured roller can help recreate the texture and ensure a cohesive look.

Sanding Tips:
- Always wear a dust mask and safety goggles to protect yourself from dust particles.
- Work in a well-ventilated area to avoid inhaling excessive dust.
- Use smooth, gentle strokes when sanding to avoid over-sanding or causing damage.
- Regularly clean the sandpaper or sanding sponge to prevent clogging and maintain optimal sanding efficiency.
- After sanding, clean the area thoroughly to remove any dust or debris before proceeding with the next steps.
Clean Off Sanded Dust and Apply Primer
After sanding the patched areas, it’s crucial to clean off any dust residue before applying the final coat of paint. To remove the sanded dust, use a tack cloth or a lightly damp sponge. Thoroughly wipe the surface, ensuring that all the dust particles are removed. This step is important to achieve proper adhesion of the paint and ensure a smooth finish.
Once the area is clean and dry, it’s time to apply a quality primer. Primer plays a crucial role in the painting process. It helps the paint adhere to the wall, seals out moisture, and provides a smooth base for the paint to adhere to. Applying a primer is important, especially when dealing with patched areas, as it helps create a uniform surface and prevents the paint from absorbing differently into the patched and non-patched areas.
When applying the primer, focus on the patched area and feather it out over the surrounding areas. This will help create a seamless transition between the patched and non-patched areas, ensuring a visually pleasing result. Allow the primer to dry completely before proceeding to the next step, typically following the manufacturer’s instructions for drying time.

Using a primer before painting not only enhances the appearance of the wall but also provides important benefits such as moisture protection. Primer acts as a barrier, preventing moisture from penetrating the surface and causing damage. This is especially crucial in areas prone to high humidity or moisture, such as bathrooms and kitchens. By applying a primer, you can ensure that your newly patched areas are well-protected against moisture-related issues.
In addition to moisture protection, primer improves the overall durability and longevity of the paint. It helps the paint adhere better, reduces the chances of peeling or chipping, and provides a smooth surface for the final paint coat.
Applying a primer is a crucial step that should not be skipped when fixing chipped paint. It sets the foundation for a flawless finish and ensures that your repaired areas blend seamlessly with the rest of the wall.
Paint the Patch to Match the Wall
The final step in fixing chipped paint is to repaint the patched area. After ensuring that the primer has completely dried, it’s time to apply the paint to achieve a seamless finish that matches the rest of the wall.
Start by selecting a paint color that closely matches the original color on the wall. This will ensure that the patch blends in naturally and is not visibly noticeable. If you’re unsure about the exact shade, you can take a paint chip or sample to your local paint store for color matching assistance.
When applying the paint, it’s best to use the same method that was used to paint the rest of the wall. For example, if the wall was originally painted with a roller, use a roller to paint the patched area as well. This will help maintain consistency in texture and finish.
Begin painting from the inside of the patched areas and gradually move outward, covering the sanded and primed section with paint. As you paint, blend the new paint into the old paint, ensuring a smooth transition without any harsh edges. Feather the paint strokes towards the surrounding area to create a seamless blend.
Allow the paint to dry thoroughly according to the manufacturer’s instructions. Once dry, inspect the patched area to ensure it has seamlessly matched the rest of the wall. If necessary, you can apply an additional coat to achieve a perfect finish.
Now that the paint has dried, step back and admire your work. The patched area should now blend effortlessly with the rest of the wall, giving you a flawless and seamless finish.
Repairing vs Painting Over Chipped Paint
When faced with chipped paint, you have the option to either repair the affected areas or simply paint over them. While painting over chipped paint may seem like a quick and cost-effective solution, it often results in a less desirable outcome. The patched areas may have rough edges that are visible under the new layer of paint, and the underlying problem can resurface, causing the paint to chip again.
Repairing the chipped paint offers a more reliable and aesthetically pleasing solution. By using wood putty or latex filler to fill in the depressions caused by the chipped paint, you can achieve a smooth surface that seamlessly blends with the rest of the wall. Sanding down the repaired areas ensures a flawless finish that is indistinguishable from the surrounding paint.
Beyond the cosmetic benefits, repairing chipped paint also helps protect the edges and prevents further peeling. By addressing the root cause of the chipping, whether it be moisture, improper priming, or other factors, you can ensure long-lasting results that withstand the test of time.
Another advantage of repairing chipped paint is that it’s a cost-effective solution, especially for small areas. Instead of having to repaint the entire wall, you can focus on the specific areas that need attention, reducing both the time and cost involved.
So, if you’re looking for a smooth finish and long-lasting results, repairing chipped paint is the way to go. It not only improves the aesthetics of your walls but also provides a durable solution that stands up to everyday wear and tear.
| Repairing Chipped Paint | Painting Over Chipped Paint |
|---|---|
| Provides a smooth finish | Rough edges may be visible |
| Helps protect edges and prevent further peeling | Underlying problem may resurface |
| Long-lasting results | Temporary solution |
| Cost-effective for small areas | May require repainting the entire wall |
Safety Precautions and Lead-Based Paint
When dealing with chipped paint, it is crucial to prioritize safety precautions. Protecting yourself is essential, so make sure to wear the appropriate personal protective equipment, including safety masks, glasses, and gloves. These items will safeguard you from harmful fumes and potential skin irritation.
If you’re working in a home built before 1978, it is important to determine whether the paint contains lead. Lead-based paint can pose serious health risks, especially for children and pregnant women. To confirm the presence of lead, you can use testing kits that are available in the market. However, it is highly recommended to hire a certified remediation company for lead-based paint removal. These professionals have the expertise and knowledge to handle lead safely and ensure its proper and secure disposal.
By hiring a certified remediation company, you can be confident that the lead-based paint will be managed in a way that minimizes risk to you and your family. These experts follow industry protocols and safety procedures that guarantee proper containment, removal, and disposal of lead-based paint. Protecting your health and the health of your loved ones is of utmost importance, so never underestimate the risks associated with lead-based paint.
