Learning how to build wall cabinets can be a rewarding and cost-effective DIY project. Not only can you customize the design and size to fit your specific needs, but you can also save a significant amount of money in the process. Whether you’re looking to add storage space in your kitchen or enhance the organization in your workshop, building your own wall cabinets allows you to create a functional and stylish solution.
Key Takeaways:
- Building your own wall cabinets can save you up to 50% compared to buying pre-made ones
- DIY wall cabinets allow for customization of design and size
- Building wall cabinets is a rewarding and cost-effective project
- Wall cabinets can provide additional storage and organization
- Learning cabinet making techniques opens up possibilities for other woodworking projects
Materials and Tools Needed for Building Wall Cabinets
When it comes to building wall cabinets, choosing the right materials and having the essential tools is crucial for a successful project. Here’s a breakdown of what you’ll need:
Materials
- 3/4″ plywood for the cabinet carcasses: Plywood is recommended over MDF or particle board for its durability. You can choose different grades for different parts of the cabinet.
- Material for cabinet doors: You can use the same plywood as the carcasses or opt for custom doors in various styles to match your desired look.
- Building cabinet shelves: The same plywood used for the carcasses can be used for the shelves as well, ensuring consistency in materials.
Essential Tools
- Table saw or circular saw: A reliable saw will be instrumental in cutting the plywood and other materials to the desired dimensions.
- Combination square: This versatile tool helps you achieve accurate measurements and square joints.
- Kreg Pocket Hole Jig: A pocket hole jig is essential for creating strong and concealed joints in the cabinet construction.
- Kreg Shelf Pin Drilling Jig: This tool simplifies the process of drilling precise holes for adjustable shelf pins.
- Concealed Hinge Jig: For cabinets with doors, a concealed hinge jig will ensure clean and professional-looking installations.
Having these materials and tools on hand will set you up for success as you embark on building your own wall cabinets.
Calculating Cabinet Component Dimensions
The size of the wall cabinets will depend on your needs and the space available. To determine the dimensions of each cabinet component, including the cabinet sides, top/bottom, back, shelves, and doors, certain measurements need to be considered. By subtracting the thickness of specific elements from the desired cabinet dimensions, you can accurately calculate each component’s size.
- The cabinet sides should have a height equal to the cabinet height and a width equal to the cabinet depth minus the door thickness.
- The cabinet top/bottom should have a height equal to the cabinet width minus the thickness of each side, and a width equal to the cabinet depth minus the door thickness.
- The cabinet back should have a height equal to the cabinet height minus the top and bottom thickness, and a width equal to the cabinet width minus the side thickness.
- The adjustable shelves should have a width equal to the cabinet depth minus the door, back, and spacing, and a height equal to the cabinet width minus the side thickness.
- The cabinet door should have a width and height equal to the cabinet dimensions minus the desired spacing.
By meticulously calculating these dimensions, you can ensure that each component fits together perfectly, creating a well-built and visually appealing wall cabinet.
Assembling the Wall Cabinets
Now that you have all the necessary components ready, it’s time to assemble the wall cabinets. The cabinet assembly process involves a few key steps to ensure a sturdy and professional result. In this section, I will guide you through the process, highlighting the key techniques of using pocket hole joinery and applying edgebanding.
Let’s get started. First, you’ll need to drill pocket holes in the top and bottom pieces of the cabinet. These pocket holes will allow you to attach the sides securely using screws. Make sure to position the pocket holes strategically for maximum strength and stability.
Once the pocket holes are drilled, align the top and bottom pieces with the sides and attach them using screws. Ensure that everything is aligned and square, as this will affect the overall stability and appearance of the cabinet. Take your time and double-check the measurements to avoid any alignment issues.

If you’re opting to use glue in addition to screws, it’s best to assemble the cabinet without glue first to ensure that all the pieces fit properly. Once you’re satisfied with the fit, disassemble the cabinet and reassemble it with glue for added strength. This step is optional, but it can provide additional stability to your cabinet.
To achieve a finished look, it’s important to apply edgebanding to the front edges of the cabinet components. Edgebanding is a thin strip of material that covers the exposed edges, giving the cabinet a polished appearance. Use a suitable edgebanding material that matches the aesthetics of your cabinet.
Before moving on to the next step, take a moment to double-check the squareness of the cabinet. Ensure that all the corners are perfectly square to guarantee a well-aligned final product.
Next up: Installing the Wall Cabinets. In the upcoming section, I will guide you through the process of installing your newly assembled wall cabinets and provide you with valuable tips and techniques to ensure a smooth and successful installation.
Installing the Wall Cabinets
When it comes to installing wall cabinets, proper planning and execution are crucial for a successful project. Follow these cabinet installation tips to ensure a smooth and secure installation:
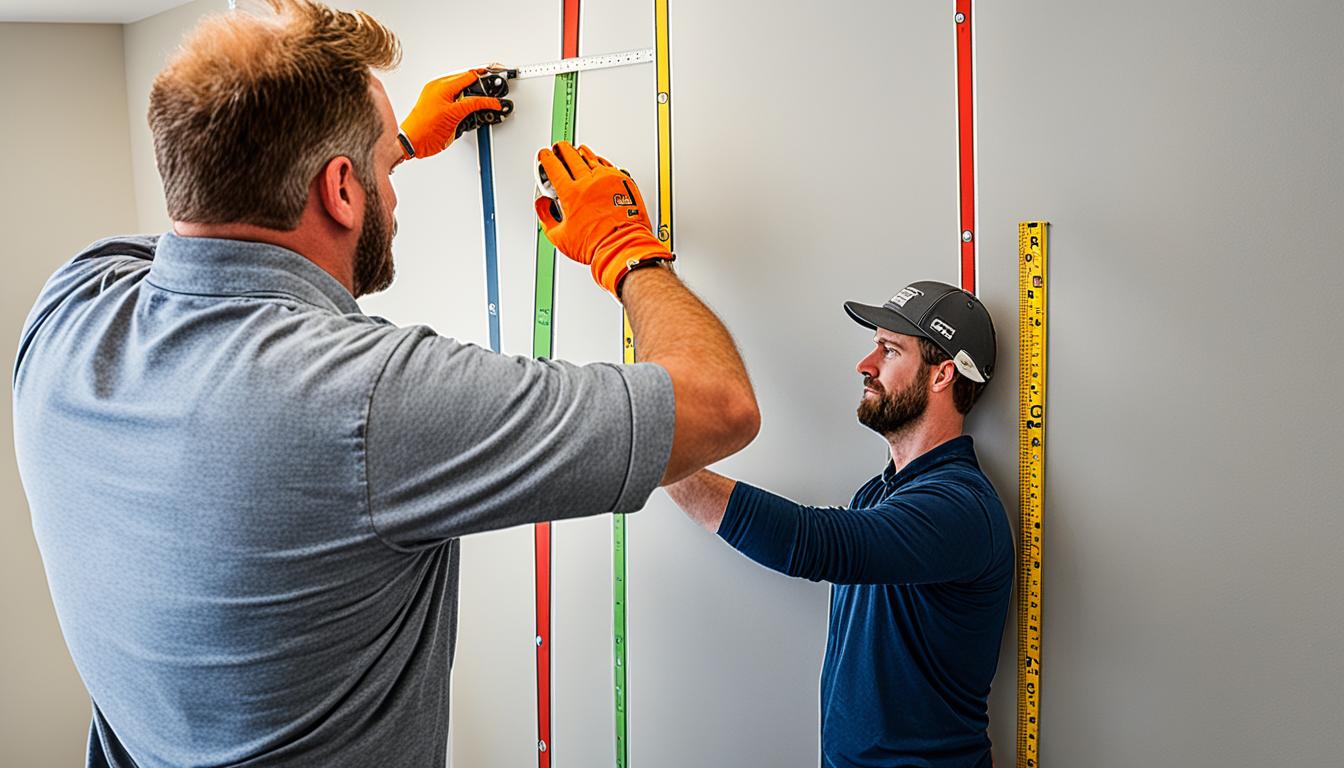
- Mark the wall for cabinet installation: Begin by marking the wall with the layout of the cabinets. Mark the top and bottom lines, vertical lines for alignment, and stud locations. This will serve as a guide throughout the installation process.
- Positioning the first cabinet: Start with the first cabinet, positioning it slightly away from the marked line. This gap allows for easier adjustment during installation.
- Removing cabinet doors and drawers: Before hanging the cabinet, it is advisable to remove the doors and drawers. This makes the installation process lighter and prevents any potential damage to the doors and drawers.
- Shimming large bows: If there is a significant bow in the wall, use shims to even it out before hanging the cabinet. This will ensure a level installation.
- Starting with the upper cabinets: Begin the installation with the upper cabinets before moving on to the bottom ones. This allows for better access and maneuverability during the installation process.
- Clamping, drilling, and fastening: Secure the cabinets together using clamps, and then drill pilot holes for the screws. This helps prevent splitting of the wood. Finally, fasten the cabinets together using suitable screws.
- Using a block of wood for scribing: To achieve a perfect fit against the wall, use a block of wood as a scribing tool. This ensures a seamless connection between the cabinets and the wall.
- Using good cabinet mounting screws: Choose high-quality cabinet mounting screws for a secure and durable installation. These screws will provide the necessary strength and stability for the cabinets.
- Fastening the back and shimming: Secure the back panel of the cabinets using screws. Additionally, shim the cabinets as needed to ensure they are level and stable.
- Measuring the gap and cutting a filler strip: Measure the gap between the wall and the end cabinets. Use these measurements to cut a filler strip that will fit perfectly into the gap.
- Fitting and installing the filler strip: Fit the filler strip into the gap and screw it to the cabinet frame. This will create a seamless appearance and cover any visible gaps.
- Securing cabinets to the floor for kitchen island installation: For kitchen island installation, secure the cabinets to the floor using 2x2s and screws. This will provide added stability and prevent movement.
- Raising cabinets for flooring: If you plan to install flooring after the cabinets, it is important to raise the cabinets off the floor to accommodate the height of the flooring. This ensures a smooth and even transition.
By following these tips, you can install your wall cabinets confidently and efficiently, creating a beautiful and functional space. Take the time to plan and execute each step carefully for a professional-looking installation.

Customizing and Finishing the Wall Cabinets
To give your wall cabinets a unique and personalized touch, you have several options for customization. One popular choice is adding crown molding and light rail trim, which not only adds a decorative element but also enhances the traditional look of the cabinets. To attach these trim pieces, simply apply glue to the back and then secure them in place with screws.
Another important aspect of finishing your wall cabinets is choosing the right paint or stain. This decision depends on your desired aesthetic and the overall style of your kitchen or space. Whether you prefer a clean and modern look or a warm and rustic feel, selecting high-quality paint or stain suitable for wood surfaces is crucial for achieving a durable and professional finish.
Once your cabinets are painted or stained to your satisfaction, it’s time to install the cabinet hardware. Cabinet hardware, such as knobs and pulls, not only adds functionality but also contributes to the overall design. Before making the final installation, it’s a good idea to use reusable putty adhesive to test different hardware positions and determine the most visually pleasing arrangement. Make a light mark with a pencil to indicate the desired positions, and then attach the remaining hardware accordingly.