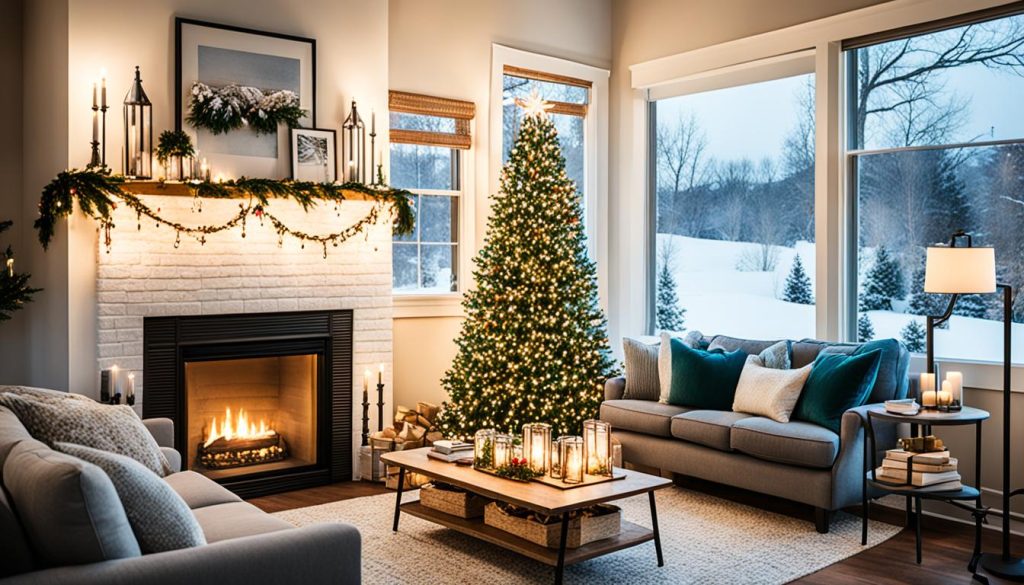
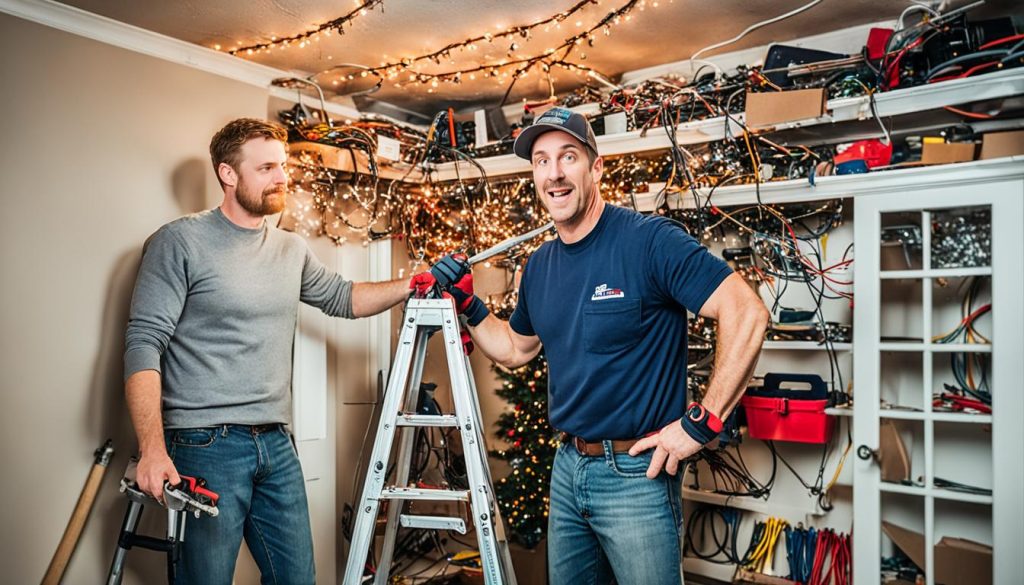
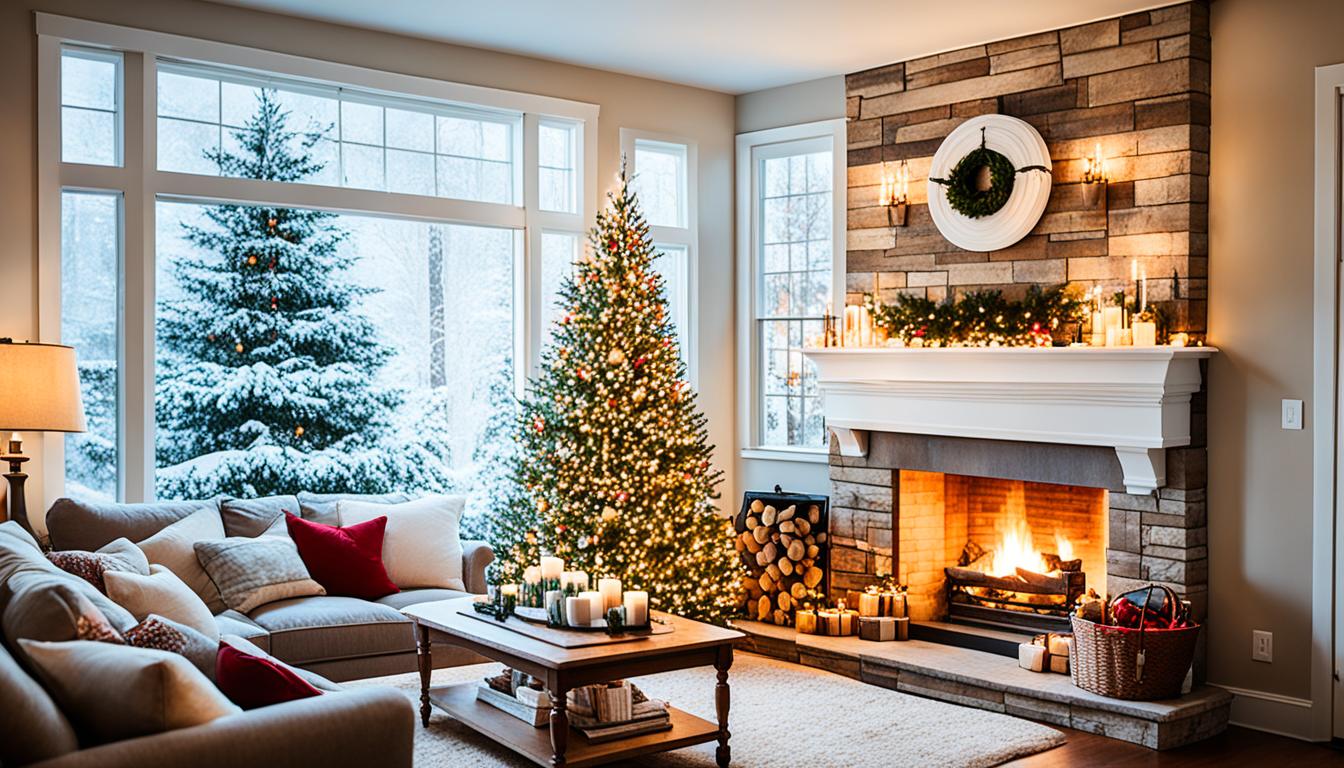
Did you know that indoor Christmas lights installation can completely transform your space and create a magical atmosphere? Whether you’re decorating for the holiday season or just looking to add a cozy ambiance, hanging lights inside can make all the difference. With the right techniques and tools, you can easily bring the festive spirit indoors without the need for nails or hammers.
Key Takeaways:
- Indoor Christmas lights installation can completely transform your space.
- You can hang lights indoors without nails or hammers.
- Choose from various techniques and tools to hang lights inside.
- Take measurements and test lights before hanging them.
- Consider DIY vs hiring a professional for hanging your Christmas lights.
How to Hang Lights in a Room Without Nails
When it comes to hanging lights in a room without nails, there are plenty of creative options to choose from. Whether you’re looking to add a warm glow to your living space or create a festive ambiance for a special occasion, these methods will help you achieve the desired effect without causing any damage to your walls or furniture.
Adhesive Clips
One popular method is using adhesive clips. These versatile clips can be easily attached to the wall or ceiling, allowing you to hang lights securely. Simply stick the clips in the desired locations and use them as anchor points for your lights.
Draping Lights on Furniture
If you have furniture that can serve as a decorative element, consider draping lights on it. This works particularly well with bookshelves, tables, or mantels. Arrange the lights in a way that highlights the contours of the furniture and creates a cozy atmosphere.
Wrapping Lights Around Banisters
If your room has a staircase with banisters, wrapping lights around them can add a touch of elegance. Start from the top and wrap the lights around the banisters, making sure they are evenly spaced. Secure the lights in place with small clips or twist ties.
Using Brick and Brick Clips
If you have exposed brick walls, you can use brick clips to hang lights without drilling holes. These clips are designed to securely hold decorations on a brick surface. Attach the clips onto the bricks and hang the lights from them.
Hanging Lights from a Curtain Rod
If your room has a curtain rod, it can serve as a convenient hanging solution. Simply drape the lights over the curtain rod and arrange them in a way that complements your curtains or window treatments.
Using Transparent Tape
Transparent tape is an excellent option for temporarily hanging lights. Simply tear off small pieces of tape and use them to attach the lights to the wall or ceiling. The tape is easily removable, making it a great choice for temporary lighting installations.
Wrapping Lights Around Household Objects
Add a whimsical touch to your room by wrapping lights around household objects such as mirrors, artwork frames, or room dividers. This creative approach can transform everyday objects into stunning decorative elements.
Staples, Pushpins, Adhesive Putty, and Wire Suckers
If you don’t mind using more traditional hanging methods, you can use staples, pushpins, adhesive putty, or wire suckers to hang lights. Just make sure to test these methods on a small, inconspicuous area before applying them to a larger surface.
Galaxy Projectors
If you’re looking for a unique way to light up your room, consider using a galaxy projector. These devices project beautiful images of stars and galaxies onto your walls, creating a mesmerizing celestial atmosphere. Simply place the projector in a strategic location and adjust the settings to create the desired effect.
Tips for Hanging Christmas Lights Inside
When it comes to creating a festive atmosphere inside your home during the holiday season, hanging Christmas lights is a must. Whether you’re decorating your living room, bedroom, or any other space, here are some valuable tips to make the process easier and more enjoyable.
1. Measuring Space
Before you start hanging your Christmas lights, take the time to measure the space where you want to hang them. This will help you determine how many light strands you’ll need to cover the area adequately. It’s always better to have a precise estimate to avoid running out of lights or having too many leftover.
2. Determining How Many Lights You Need
To determine the number of lights you’ll need, check the packaging of the Christmas lights you plan to use. The packaging usually provides the length of the light strand and the number of bulbs it contains. With your measurements in hand, divide the total length of the space by the length of each light strand to calculate how many strands you need.
3. Testing Lights
Before you hang the lights, it’s essential to test them to ensure they are in good working condition. Plug in each strand and carefully examine them for any burnt out bulbs or flickering lights. Replace any faulty bulbs before hanging the lights to ensure a bright and beautiful display.
4. Using Adhesive Hooks
To hang your Christmas lights without causing any damage to your walls or ceilings, consider using adhesive hooks. These hooks can easily be stuck to any smooth surface and removed without leaving a trace. Make sure to follow the instructions provided by the manufacturer to ensure they can hold the weight of the light strands.

Tips for Hanging Christmas Lights Inside
| Tips | Description |
|---|---|
| Measuring Space | Measure the area where you want to hang the lights to determine how many strands you’ll need. |
| Determining How Many Lights You Need | Check the packaging of the lights to find out the length of each strand and the number of bulbs. Divide the total length of the area by the length of the light strand to calculate the number of strands needed. |
| Testing Lights | Plug in each strand and check for any burnt out bulbs or flickering lights. Replace faulty bulbs before hanging the lights. |
| Using Adhesive Hooks | Stick adhesive hooks to smooth surfaces for easy and damage-free hanging. |
How to Prep for Hanging Christmas Lights
Before you start hanging Christmas lights, it’s essential to prepare properly. This involves measuring the lights and taking necessary safety precautions to ensure a smooth and safe installation process.
Measuring Lights
One of the first steps in prepping for hanging Christmas lights is measuring the areas where you plan to hang them. By determining the length required, you can ensure you purchase the right amount of lights. This prevents any last-minute trips to the store and allows for a seamless installation.
Safety Precautions
Safety should always be a top priority when it comes to hanging Christmas lights. Before you begin, gather the appropriate tools such as a sturdy ladder, hooks, and clips. Make sure all lights are in good working condition and free from any damages or frayed wires.
When working with a ladder, follow ladder safety guidelines to prevent accidents or injuries. Ensure the ladder is placed on a stable and even surface, and that it is the appropriate height for the task at hand. Always maintain three points of contact, and be cautious of any overhead obstacles such as power lines or tree branches.
Additionally, it’s important to use outdoor lights for exterior installations and indoor lights for interior decorations. This will ensure that the lights are suitable for their specific environments and minimize any potential safety hazards.

By taking the time to measure your lights and implement safety precautions, you can ensure a hassle-free and safe experience when hanging your Christmas lights. Now that you’re prepared, it’s time to bring the festive spirit into your home!
DIY vs Hiring a Pro
When it comes to hanging Christmas lights, you have the option to DIY or hire a professional. Let’s take a look at the pros and cons of each to help you make an informed decision.
DIY (Do-It-Yourself)
If you enjoy taking on projects and have some handy skills, DIY can be a cost-effective option. You have full control over the design and can customize the light arrangement to your liking. Plus, you’ll have the satisfaction of completing the task yourself.
However, DIY does come with a few drawbacks. First, you’ll need to purchase the necessary tools and equipment, such as ladder, clips, and lights. These costs can add up depending on the size of your project. Additionally, hanging lights can be physically challenging and time-consuming, especially if you have a large space to cover.
Hiring a Pro
If you prefer to leave the work to the experts, hiring a professional Christmas light installation service is a convenient option. They have the experience and expertise to efficiently hang your lights, saving you time and effort.
One of the biggest advantages of hiring a pro is the quality of the installation. They have the knowledge to create beautiful, evenly spaced light displays that are sure to impress. Additionally, professionals will handle all the technical aspects, such as electrical connections and safety precautions.
However, professional installation does come with a cost. The average cost of professional Christmas light installation can vary depending on factors such as the size of your project, location, and the complexity of the design. It’s best to get a quote from a reputable company to understand the specific costs involved.
| DIY | Hiring a Pro |
|---|---|
| Cost-effective option | Expertise and experience |
| Customizable design | Professional installation |
| Physically challenging | Cost of professional service |
Ultimately, the choice between DIY and hiring a pro depends on your budget, available time, and personal preference. If you enjoy the process and are willing to put in the effort, DIY can be a rewarding experience. On the other hand, if you prefer a hassle-free and professional result, hiring a pro is worth considering.
Remember to weigh the pros and cons of each option and decide what works best for you. Whether you choose to tackle the task yourself or seek professional help, may your Christmas lights bring joy and warmth to your holiday season.
Tips for a Festive and Safe Holiday Season
As the holiday season approaches, it’s time to start thinking about decorating your home with beautiful lights. To ensure a festive and safe atmosphere, here are some essential tips to keep in mind.
Firstly, consider syncing your lights with timers or smart plugs. This allows you to easily control when your lights turn on and off, saving you the trouble of manually switching them on every day. Not only does this add convenience, but it also helps save energy.
When the holidays are over and it’s time to put away the lights, make sure to take proper care of them for storage. Untangle the wires to prevent any damage, and consider using storage solutions such as wrapping them around cardboard to keep them neat and organized. This way, you’ll have them ready to go for next year’s festivities.
To simplify the setup process, use power stakes for your outdoor lights. These stakes allow you to easily secure the lights in your yard and eliminate the need for long extension cords. They also make it easier to find a power source, ensuring your lights shine bright throughout the holiday season.
Finally, remember to prioritize safety while decorating. Check all lights and electrical connections for damage or wear before use. Avoid overloading outlets and extension cords to prevent any potential hazards. If using a ladder, make sure it’s sturdy and secure. By following these safety tips, you can ensure a worry-free and delightful holiday season for you and your loved ones.
