Did you know that removing paint from kitchen cabinets is a popular home improvement project? According to recent statistics, homeowners across Canada are increasingly interested in refinishing their kitchen cabinets to give their kitchen a fresh new look. If you’re one of those homeowners looking to remove paint from your kitchen cabinets, you’ve come to the right place. In this easy guide, I will share step-by-step instructions and the best methods for effectively removing paint from your cabinets.
Key Takeaways:
- Removing paint from kitchen cabinets is a popular home improvement project in Canada.
- By refinishing your kitchen cabinets, you can give your kitchen a fresh new look.
- Follow the step-by-step instructions in this guide for effective paint removal.
- Choose the right paint stripper and gather the necessary supplies for the job.
- Consider alternative methods such as using a heat gun or sandpaper for paint removal.
Why Strip Paint from Kitchen Cabinets?
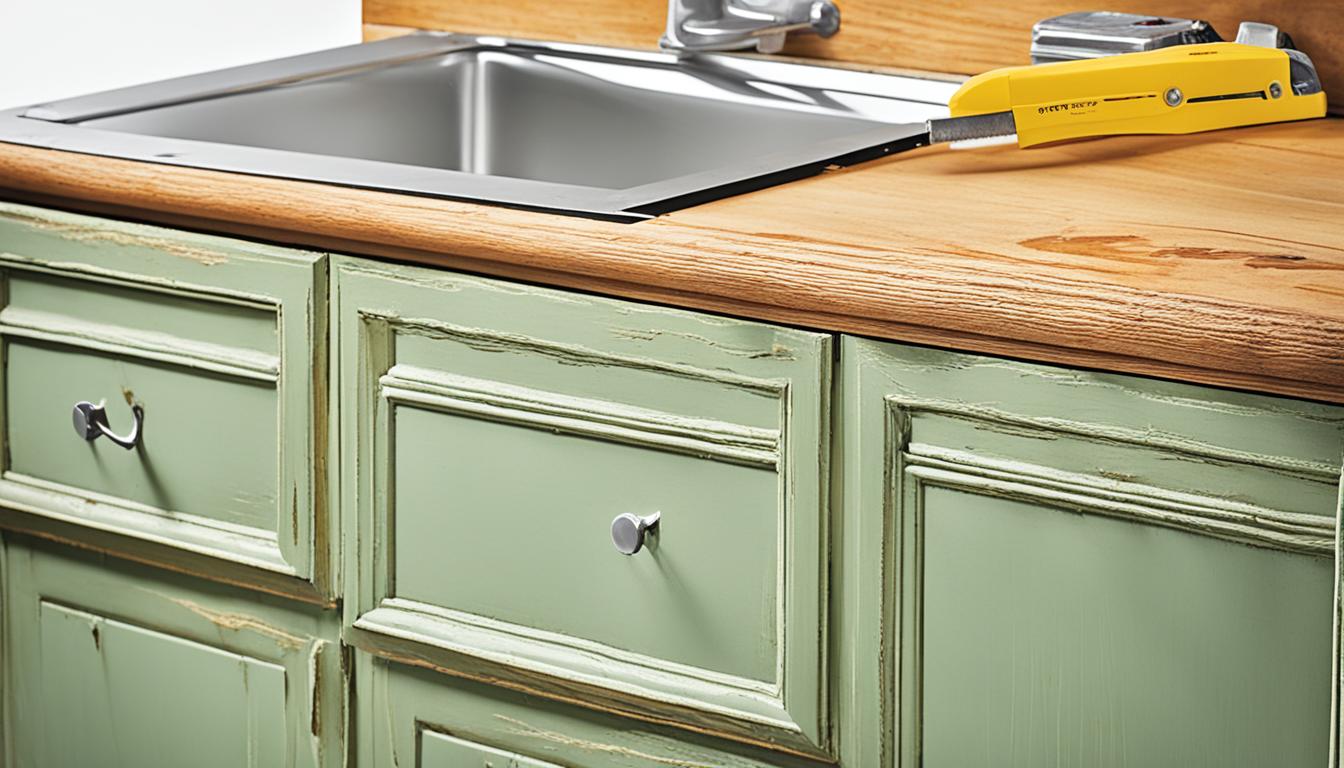
There are various reasons why you might want to strip the paint from your kitchen cabinets. It could be that you want to refinish them and give them a new look, or perhaps the current paint job is chipping and peeling. By removing the old paint, you can start fresh and achieve a smooth and professional finish.
Whether you’re looking to update your kitchen aesthetics or restore the natural beauty of the wood, the kitchen cabinet refinishing process begins with removing the old paint from cabinets. This crucial step allows you to create a clean surface for the refinishing process, ensuring a long-lasting and beautiful result.
To illustrate the importance of removing old paint from cabinets, consider the table below:
| Reasons to Strip Paint from Kitchen Cabinets |
|---|
| To refinish the cabinets and give them a new look |
| Restore the original wood grain and beauty |
| Eliminate chipping, peeling, or damaged paint |
| Create a smooth and professional finish |
By thoroughly removing the old paint from your kitchen cabinets, you can transform the overall appearance of your kitchen, enhancing its aesthetic appeal and increasing the value of your home.
When it comes to removing old paint from cabinets, it’s important to follow the proper techniques and use the right tools to ensure a successful refinishing project. In the next sections, I will discuss the step-by-step process and provide helpful tips and alternative methods for paint removal.
Choosing the Right Paint Stripper
Finding the right paint stripper is crucial for the success of your project. When selecting a paint stripper for your kitchen cabinets, it’s important to consider both effectiveness and safety. Look for a non-flammable paint stripper that can effectively remove all types of finishes while being safe to use on wood surfaces.
An ideal option for chemical-free paint stripping is the Citristrip Safer Paint and Varnish Stripping Gel. This environmentally friendly and biodegradable paint stripper is formulated with natural ingredients, making it a great choice for those who prefer non-toxic solutions.
Another top-rated brand of paint stripper is the 3M Safest Stripper Paint Remover. It is known for its effectiveness in removing multiple layers of paint without the need for neutralizing. This paint stripper is suitable for various surfaces, including wood cabinets.
Comparison of Chemical-Free Paint Strippers
| Brand | Features |
|---|---|
| Citristrip Safer Paint and Varnish Stripping Gel | Chemical-free, environmentally friendly, biodegradable |
| 3M Safest Stripper Paint Remover | Effective on multiple layers of paint, no need for neutralizing |
When choosing a paint stripper, be sure to read and follow the manufacturer’s instructions carefully. Always wear appropriate protective gear, such as chemical-resistant gloves and safety goggles, and work in a well-ventilated area.
Remember, the best brand of paint stripper for your kitchen cabinets may vary depending on the specific type of paint and finish you are trying to remove. If you are unsure, it’s recommended to test the paint stripper on a small, inconspicuous area of the cabinet first to ensure compatibility and effectiveness.
With the right paint stripper in hand, you can confidently proceed with the paint removal process, knowing that you have chosen a product that will effectively and safely strip away the old paint from your kitchen cabinets.
Supplies Needed for Stripping Paint
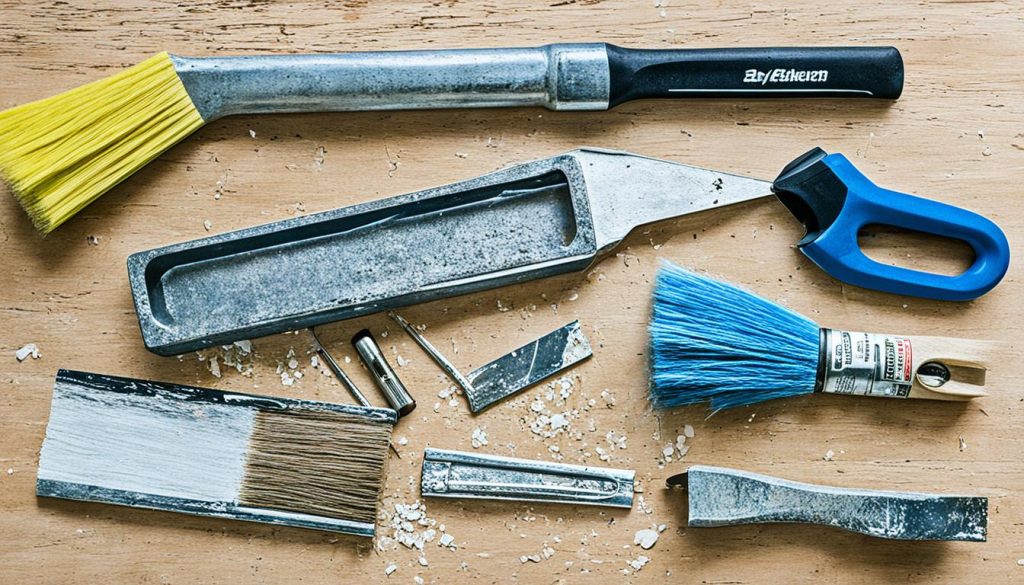
To effectively strip paint from kitchen cabinets, you will need several supplies. These include:
- Paint stripper
- Chemical-resistant rubber gloves
- Protective footwear and eyewear
- A workbench or work surface
- A belt or palm sander
- Sandpaper
- Scraping tools
- Lint-free rags
- An old paint brush
- A container for the paint stripper residue

Having the right supplies will ensure that you can strip the paint from your kitchen cabinets effectively and efficiently. The paint stripper will help break down the old paint, while the rubber gloves and protective gear will keep you safe from any harmful chemicals. A workbench or work surface will provide a stable area for you to work on, and the sander, sandpaper, and scraping tools will help remove any remaining paint or residue. Lint-free rags and an old paint brush will be handy for cleaning and applying the paint stripper. Lastly, having a container for the paint stripper residue will make it easier for disposal.
Now that you have all the necessary supplies, let’s move on to the step-by-step process of stripping paint from your kitchen cabinets.
Step-by-Step Guide for Stripping Paint
If you’re looking to give your kitchen cabinets a fresh new look, stripping off the old paint is the first step. Follow these simple step-by-step instructions to effectively remove paint from your kitchen cabinets:
- Start by removing the cabinet door hardware. Use a screwdriver to unscrew and remove handles, knobs, and hinges. Place them in a safe place such as a small container or baggie to avoid misplacing them.
- Next, set up a well-ventilated work station. This can be outdoors or in a well-ventilated area of your home, such as a garage. Lay down drop cloths or old newspapers to protect your work area from any paint drips or spills.
- Put on your safety gear, including chemical-resistant rubber gloves and protective eyewear. It’s crucial to protect yourself from any potential harm caused by the paint stripper.
- Apply a thick coat of paint stripper to the surface of your cabinets using an old paintbrush. Make sure the entire surface is evenly covered. Allow the paint stripper to sit and work its magic, following the manufacturer’s instructions for the recommended amount of time.
- As the paint stripper starts to bubble up, use a scraping tool to gently scrape off the loosened paint. Work in small sections and be careful not to gouge or damage the wood underneath. Place the scraped-off paint in a container for proper disposal.
- If there’s any residual paint left on the cabinets, repeat the process by applying another coat of paint stripper and scraping it off as before.
- After removing all the paint, use a damp cloth to wipe away any remaining residue from the surface of the cabinets. This will help ensure a smooth and clean surface for the next steps of your cabinet makeover.
- Allow the cabinets to dry completely before proceeding. Once dry, use sandpaper to smooth out any rough areas or imperfections on the cabinet surface. Start with a coarse-grit sandpaper and gradually switch to finer grits for a smooth finish.
- Finally, clean the cabinets thoroughly to remove any dust or debris from the sanding process. You can use a vacuum cleaner or a damp cloth. Once clean, you’re ready to apply a new finish or paint to your kitchen cabinets.
Following these step-by-step instructions will help you remove paint from your kitchen cabinets and prepare them for a fresh new look. Stay tuned for the next section, where we’ll explore alternative methods for paint removal.
Alternative Methods for Paint Removal
While using a paint stripper is the most common method for removing paint from kitchen cabinets, there are alternative methods available. These include using a heat gun to loosen the paint and then scraping it off, as well as using sandpaper to sand away the layers of paint. These methods may require more time and effort, but they can be effective depending on the condition of the cabinets.
Using a Heat Gun
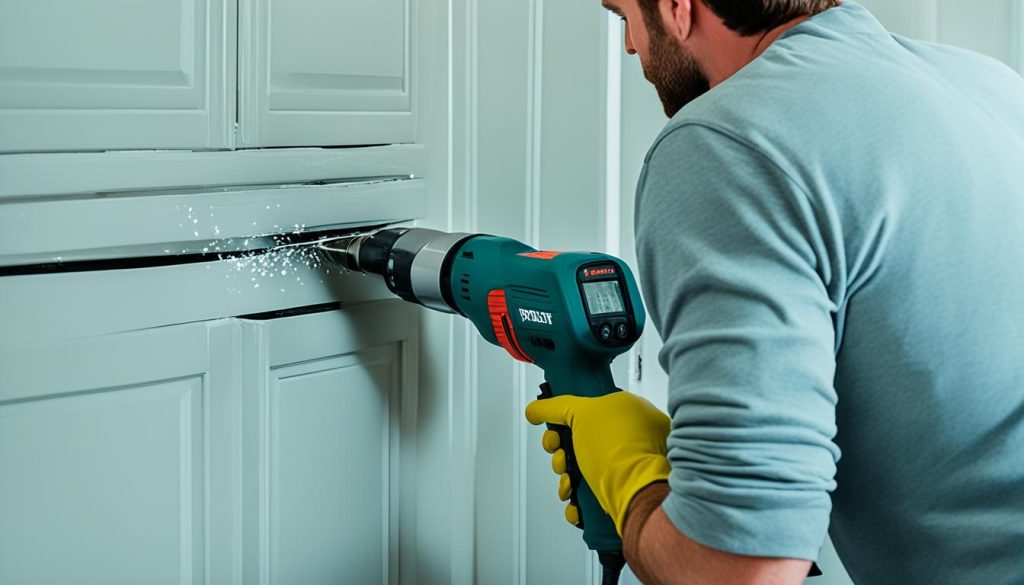
One alternative method for paint removal is using a heat gun. This tool emits a high level of heat that helps to soften the paint, making it easier to scrape off. To use a heat gun, follow these steps:
- Plug in the heat gun and turn it on.
- Hold the heat gun about 3-4 inches away from the painted surface.
- Move the heat gun back and forth across the painted area to evenly distribute the heat.
- As the paint begins to bubble and loosen, use a scraping tool to remove it.
- Continue heating and scraping until all the paint is removed.
Make sure to wear safety goggles and gloves when using a heat gun to protect yourself from the hot air and any flying paint chips.
Using Sandpaper
Another alternative method for paint removal is using sandpaper. This method involves manually sanding away the layers of paint until the desired surface is achieved. Here’s how to use sandpaper for paint removal:
- Start with medium-grit sandpaper to remove the majority of the paint.
- Sand in the direction of the wood grain to avoid damaging the surface.
- Continue sanding until the paint is completely removed.
- Switch to fine-grit sandpaper to smooth out the surface and prepare it for refinishing.
Be sure to wear a dust mask and protective eyewear to prevent inhalation of paint dust and protect your eyes from debris.
When using alternative methods like a heat gun or sandpaper, it’s important to assess the condition of your cabinets and choose the method that is most suitable for the job. Take your time and work carefully to achieve the best results.

Tips for Stripping Cabinets Successfully
When it comes to stripping cabinets, there are a few key tips that can help you achieve successful results. Whether you’re removing paint or refinishing your kitchen cabinets, these tips will ensure that the process is efficient and effective.
Generous Application of Paint Stripper
One of the most important tips for stripping cabinets is to apply the paint stripper generously. This will ensure that the stripper penetrates through multiple layers of paint and effectively breaks down the bonds. By applying a thick and even coat of paint stripper, you’ll maximize its effectiveness and make the stripping process easier.
Using a Shave Hook Scraping Tool
Another useful tip is to use a shave hook scraping tool, especially for cabinets with raised profiles. The shape of the shave hook allows you to scrape off paint from intricate details and hard-to-reach areas. This tool will help you remove paint more efficiently and achieve a smoother surface.
Thorough Removal of Paint and Residue
When stripping cabinets, it’s important to be thorough in removing all traces of paint and residue. After applying the paint stripper and allowing it to work its magic, use a scraping tool or sandpaper to remove the softened paint. Be diligent in checking for any missed spots and ensure that the surface is clean and bare before proceeding with the next step of your cabinet refinishing project.
Sanding for a Smooth Finish
After stripping the paint, it’s common to have rough areas on the cabinet surfaces. To achieve a smooth and professional finish, make sure to sand these rough areas. Use a fine-grit sandpaper to sand the cabinets, ensuring that the surface is even and ready for the next stage of the refinishing process. Sanding will also help you prepare the cabinets for painting or staining.
Protect Yourself with Safety Gear
Lastly, always prioritize your safety when working with paint strippers and other chemicals. Wear protective gloves, eyewear, and footwear to safeguard yourself from potential hazards. Additionally, work in a well-ventilated area to minimize exposure to fumes. Taking these precautions will ensure a safe and successful cabinet stripping experience.
Finishing Touches: Painting and Priming
Now that you have successfully stripped the paint from your kitchen cabinets, it’s time to give them a fresh new look. Painting and priming are the final steps in the kitchen cabinet refinishing process. Follow these tips to achieve a professional and long-lasting finish.
To start, ensure that your cabinets are thoroughly cleaned. Remove any dust, dirt, or residue from the stripping process. This will help the paint adhere better and result in a smoother finish. Use a mild detergent and water solution, and allow the cabinets to dry completely before proceeding.
Next, apply a high-quality primer to the cabinets. Priming is essential as it creates a smooth surface for the paint to adhere to, enhances durability, and prevents stain bleeding. Choose a primer that is specifically designed for use on wood surfaces. Apply the primer evenly using a brush or a roller, ensuring complete coverage.
Once the primer has dried, it’s time to apply the paint. Select a paint color and finish that complements your kitchen design and personal style. For a sleek and polished look, consider using a semi-gloss or high-gloss finish. Apply multiple thin coats of paint, allowing each coat to dry completely before applying the next one. This will help achieve a smooth and even finish without any visible brush strokes.
