Did you know that installing a radiant barrier in your home can reduce cooling costs by 5% to 10%? That’s right, this simple and effective solution can make your home more energy efficient and help you save on your energy bills.
If you’re looking to reduce energy costs and create a more comfortable living environment, installing a radiant barrier is a great option. This article will guide you through the process of installing a radiant barrier, explain how it works, and highlight its many benefits. Whether you choose to do it yourself or hire a professional, a radiant barrier can significantly improve the energy efficiency of your home.
Key Takeaways:
- Installing a radiant barrier can reduce cooling costs by 5% to 10%.
- A radiant barrier works by reflecting radiant heat away from the living areas of a home.
- Professional installation ensures maximum effectiveness of the radiant barrier.
- A radiant barrier can contribute to the overall energy efficiency of a home and increase its value.
- Radiant barrier sheathing, such as LP TechShield, offers environmental benefits by reducing energy consumption.
How Does a Radiant Barrier Work?
Radiant barriers are a key component in improving the energy efficiency of homes. They work by reflecting radiant heat away from the living areas, keeping the interior spaces cooler in the summer and warmer in the winter. But how exactly does a radiant barrier achieve this?
When the sun’s radiant energy hits the roof, the heat is transferred into the attic space. A radiant barrier with a reflective surface can reduce the transfer of this heat into the attic, minimizing its impact on the living areas below.
Imagine a shiny surface that reflects light. In the case of a radiant barrier, that reflective surface bounces the sun’s radiant heat away, preventing it from penetrating the attic and significantly reducing the amount of heat that enters the home.
One important consideration for a radiant barrier’s effectiveness is keeping the reflective surface free from dust accumulation. Dust can reduce the barrier’s ability to reflect heat, so regular maintenance is essential to maximize its benefits.
While professional installation is an option, many homeowners choose to install a radiant barrier themselves as a cost-saving measure. DIY radiant barrier installation is possible with the right guidance and materials, making it a viable option for those who enjoy tackling home improvement projects.
The Benefits of Installing a Radiant Barrier
When it comes to creating an energy-efficient home and reducing energy costs, installing a radiant barrier offers numerous benefits. A radiant barrier can effectively reduce the heat gain in your attic, which in turn lowers cooling costs and improves the efficiency of HVAC units located in the attic. This translates to increased comfort for you and your family, as well as lower energy bills.
One of the key advantages of professional radiant barrier installation is the assurance that it will be properly installed and maximize its effectiveness. Having a radiant barrier professionally installed ensures that it is placed in the optimal position to reflect radiant heat and minimize heat transfer into your living spaces.
Besides the immediate benefits of energy cost savings, a radiant barrier also contributes to the overall energy efficiency of your home. This is especially valuable if you plan on selling your property in the future, as an energy-efficient home is a highly desirable feature for potential buyers.
By investing in a professional radiant barrier installation, you’ll not only enjoy the benefits of reduced energy costs and increased comfort but also add long-term value to your home. It’s a smart investment that pays off in both the short and long run.

How to Install a Radiant Barrier
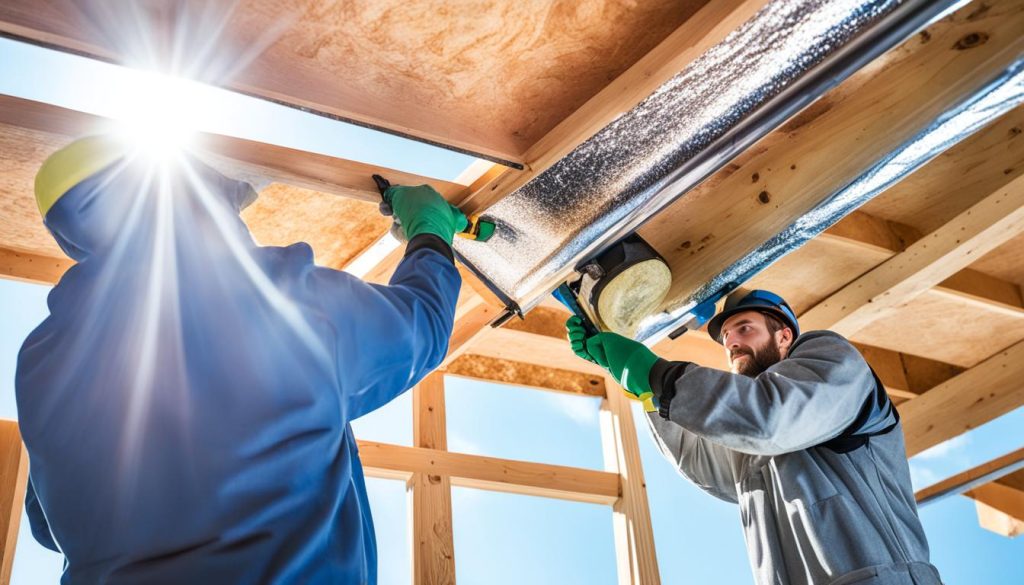
Installing a radiant barrier is a straightforward process that can be done by a qualified contractor or as a DIY project. Here are the steps to follow:
- Start by measuring the area of your attic where you plan to install the radiant barrier. This will help you determine how much material you will need.
- Clean and clear the attic space of any debris or clutter to create a clean working area.
- Choose the type of radiant barrier you want to install – either a foil-based or a paint-on radiant barrier.
- If you opt for a foil-based radiant barrier, position it perpendicular to the radiant energy striking it. This will help maximize its effectiveness.
- Ensure that the reflective surface of the radiant barrier faces an air space, such as the underside of the roof. This will allow the radiant barrier to reflect the radiant heat away from the living areas of your home.
- Securely fasten the radiant barrier to the attic rafters or roof deck, making sure it is taut and free from wrinkles or sagging.
- If you choose a paint-on radiant barrier, carefully follow the manufacturer’s instructions for application. Apply the paint evenly to the interior side of the roofing material.
- Once the radiant barrier is installed, check for any gaps or areas where the barrier may not be properly sealed. Use foil tape or caulk to seal any openings.
- Finally, take steps to minimize dust accumulation on the reflective surface of the radiant barrier by keeping the attic clean and sealed.
Whether you decide to hire a professional for radiant barrier installation or take the DIY route, ensure that you carefully follow the installation instructions provided by the manufacturer. A professional radiant barrier installation guarantees expert workmanship, while DIY installation offers cost savings for those who are comfortable with home improvement projects.

Radiant Barrier Sheathing for Environmental Benefits
When it comes to creating an energy-efficient home and reducing energy costs, radiant barrier sheathing is a game-changer. This innovative solution, such as LP TechShield, offers incredible benefits to homeowners, especially when it comes to attic insulation. By effectively reducing heat transfer and decreasing attic temperatures, radiant barrier sheathing contributes to a more energy-efficient living environment.
One of the key advantages of radiant barrier sheathing is its ability to minimize heat transfer into your home’s attic. With the reflective surface facing the air space, it reflects radiant heat away, preventing your attic from becoming a heat trap. This not only helps keep your home cooler during hot summers but also allows your HVAC system to function more efficiently, reducing the need for excessive cooling. As a result, you can significantly reduce your energy consumption and enjoy lower monthly utility bills.
Builders are increasingly incorporating radiant barrier sheathing as a standard feature in new homes due to its proven performance and long-term cost savings. By installing this environmentally friendly solution, homeowners can create a more comfortable living environment while reducing their environmental impact. Moreover, radiant barrier sheathing complements other energy-efficient measures, making it an ideal choice for those looking to improve their home’s energy efficiency.
Don’t miss out on the opportunity to transform your home into an energy-efficient haven. Explore the benefits of radiant barrier sheathing, such as LP TechShield, and enjoy the long-term cost savings, reduced energy costs, and improved comfort it brings. Say goodbye to soaring energy bills while reducing your carbon footprint – embrace radiant barrier sheathing and experience the difference it can make in your energy-efficient home.
