Did you know that choosing the right paint for trim can make a significant difference in the overall look and longevity of your home? It’s true! A study conducted by Home Improvement Research Institute found that using the best paint for trim can increase the value of your home by up to 5%. That’s a significant return on investment for such a simple upgrade!
When it comes to painting trim, it’s essential to use a paint that not only enhances the beauty of your space but also provides protection against everyday wear and tear. In this article, I will share expert tips on selecting the best paint for trim and provide you with valuable advice on achieving a flawless finish.
Key Takeaways:
- Choosing the right paint for trim can increase the value of your home by up to 5%.
- Using the best paint for trim ensures a long-lasting and durable finish.
- Expert tips and techniques can help you achieve a flawless finish when painting trim.
Why Trim Paint is Different from Regular Wall Paint
When it comes to painting the trim in your home, using the right paint is crucial for achieving a professional finish. Trim paint is specifically formulated for trim surfaces and offers several advantages over regular wall paint. Let’s explore why trim paint is different and why you should consider using it.
One of the key differences between trim paint and regular wall paint is the sheen. Trim paint is available in various sheens, such as satin, semi-gloss, gloss, or high gloss. These sheens are specifically designed to provide durability and resistance to moisture, making them ideal for trim surfaces that often face wear-and-tear, such as baseboards and window sills.
Another important difference is that trim paint has properties that resist yellowing or sagging over time. This is crucial for maintaining the crisp and clean appearance of your trim, even after years of use. Regular wall paint may not have these properties, making it more prone to yellowing or sagging, especially in high-traffic areas.
Using trim paint also ensures that you achieve a consistent look throughout your home. The sheen and finish of trim paint are specifically formulated to complement and enhance the trim surfaces, creating a cohesive and polished appearance. Using regular wall paint on trim surfaces may result in an inconsistent finish and may not provide the same level of durability.
Reasons to Use Trim Paint
There are several reasons why using trim paint is beneficial:
- Enhanced durability: Trim paint is designed to withstand the wear-and-tear that trim surfaces often face, ensuring a long-lasting finish.
- Resistance to moisture: Trim paint’s sheen and properties offer protection against moisture, making it ideal for areas prone to dampness.
- Improved aesthetics: Trim paint’s specialized sheens and finishes enhance the appearance of trim surfaces, creating a polished and cohesive look.
- Prevention of yellowing and sagging: Trim paint’s properties help maintain the color and integrity of the trim, even over time.
By using trim paint, you can achieve a flawless and professional finish on your trim surfaces, elevating the overall aesthetic of your home.
| Trim Paint | Regular Wall Paint |
|---|---|
| Specifically formulated for trim surfaces | Designed for use on walls |
| Different sheens available for durability and moisture resistance | Typically available in a flat or eggshell finish |
| Resists yellowing and sagging over time | May yellow or sag with age |
| Enhances the appearance of trim surfaces | Might result in an inconsistent finish on trim |
Choosing the Right Trim Paint Color and Finish
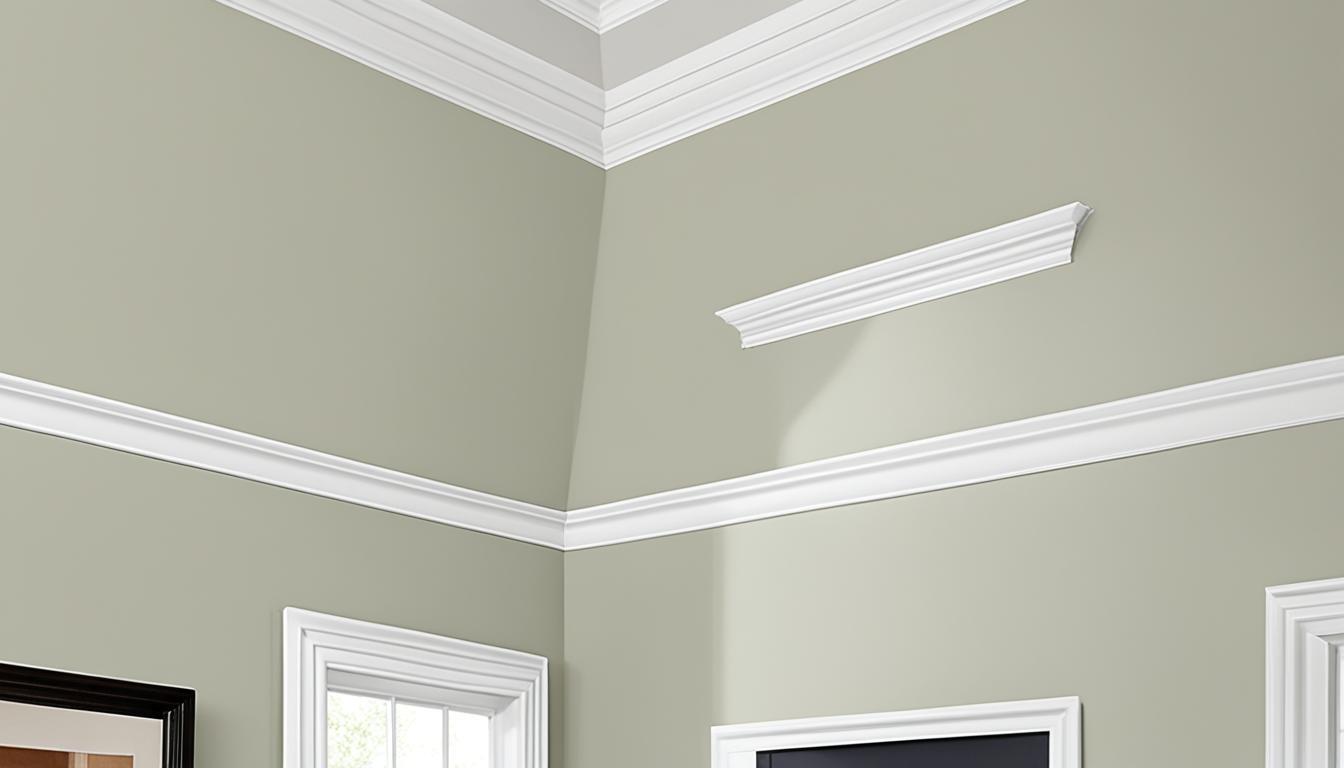
When it comes to selecting the perfect trim paint color, white is undoubtedly the most popular choice. Its timeless appeal sets a traditional, non-obtrusive tone that complements any wall color effortlessly. However, don’t hesitate to think outside the box! Matching the trim color to the walls can create a cohesive and modern look, while opting for a contrasting color adds a touch of drama to your space.
Now let’s talk about the finish. The most commonly used trim paint finish is semi-gloss. It strikes a perfect balance between concealing imperfections and reflecting light, resulting in a smooth and polished appearance. However, personal preferences vary, and you have other options to consider. If you desire a higher sheen and more shine, you can choose gloss or high-gloss finishes. On the other hand, if you prefer a subtle, matte-looking trim, satin finish might be your best bet.
With so many trim paint colors and finishes to choose from, let your imagination guide you in creating a beautiful and harmonious space that reflects your personal style.
Different Types of Trim Paint
When it comes to painting trim, choosing the right type of paint can make all the difference in achieving a professional and long-lasting finish. There are two main types of trim paint: oil-based and acrylic-latex.
Oil-Based Trim Paint
Oil-based trim paint has been a classic choice for many years. It offers a glass-like finish with minimal brush marks, giving your trim a smooth and polished appearance. This type of paint is particularly well-suited for older houses with traditional trim.

Oil-based trim paint provides excellent durability and is resistant to wear and tear. Its slow drying time allows for smooth brush strokes and easy blending of colors. However, it does have a strong odor and requires special handling and clean-up with solvents.
Acrylic-Latex Trim Paint
If you prefer a more environmentally friendly option, acrylic-latex trim paint is a great choice. This type of paint still produces a good finish but may show brush marks more than oil-based paint. It is water-based and has a lower odor compared to oil-based paint.
Acrylic-latex trim paint dries quickly, allowing for faster project completion. It also offers easy clean-up with just soap and water. However, it may not be as durable as oil-based paint and may require more frequent touch-ups.
Best Brands of Trim Paint
When it comes to choosing the best brand of trim paint, there are several options that consistently deliver high-quality results. Some of the top brands to consider include:
- Behr
- Benjamin Moore
- Dutch Boy
- Glidden
- Olympic
- Sherwin-Williams
- Valspar
These brands are known for their extensive range of trim paint colors, finishes, and reliable performance. Whether you opt for oil-based or acrylic-latex trim paint, choosing a reputable brand will help ensure a successful painting project.
Tips for Painting Trim
Before painting your trim, it is important to properly prepare the surface. Follow these tips to achieve a flawless finish:
- Sand away any rough spots or flaking paint to create a smooth surface.
- Fill in any holes or cracks with spackle and allow it to dry before proceeding.
- Prime the trim if necessary to ensure good adhesion and a uniform finish.
- Use painter’s tape to protect adjacent surfaces, such as walls or flooring.
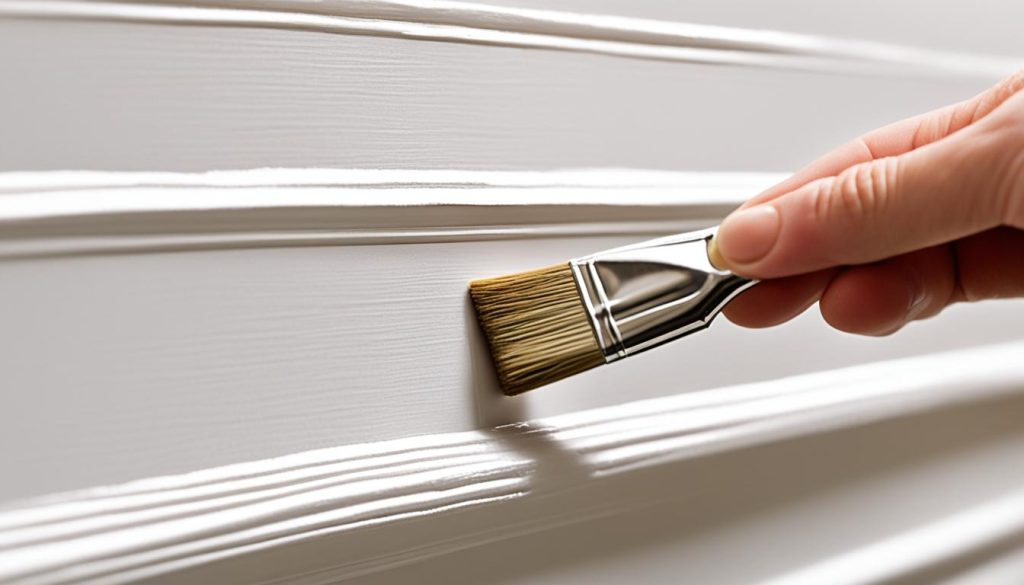
- When painting, use a 2-inch trim brush with a slanted edge for better precision.
- Apply the paint in thin, even coats to avoid drips and achieve a smooth result.
- Start painting away from the wall and move towards it, using quick movements to apply a thick layer of paint.
- Avoid brushing wet paint over areas that have already been painted to prevent smudging.
- Allow the paint to dry completely before removing the painter’s tape.

Following these tips will help you achieve professional-looking results when painting your trim. Proper preparation and technique are key to ensuring an even and long-lasting finish.
Best Practices for Trim Painting
To achieve a flawless finish when painting trim, it’s important to follow these best practices:
- Use high-quality brushes and paint: Investing in good tools will result in smoother application and better overall results.
- Properly prep the surface: Before starting to paint, make sure to sand the trim surface to remove any rough spots or flaking paint. Fill in any holes or cracks with spackle and ensure a smooth base for the paint.
- Apply primer if necessary: Using a primer can help improve adhesion and ensure a uniform finish. If your trim has already been primed or is made of a material that doesn’t require primer, you can skip this step.
- Work in thin, even coats: To avoid visible brush strokes or drips, apply the paint in thin layers. This will allow for better coverage and a more professional finish.
- Brush towards the edges of the trim: When painting, start from the center of the trim and brush towards the edges. This technique helps prevent drips and ensures a clean, neat finish.
- Avoid overloading the brush: Instead of trying to cover a large area with one stroke, load the brush with an appropriate amount of paint to avoid excess drips or smears.
Allow the paint to dry completely before removing any painter’s tape. This will help ensure clean lines and prevent any smudging or peeling.
| Best Practices for Trim Painting | Benefits |
|---|---|
| Use high-quality brushes and paint | – Smoother application – Better results |
| Properly prep the surface | – Smooth and even finish – Ensures adhesion |
| Apply primer if necessary | – Improved coverage – Uniform finish |
| Work in thin, even coats | – Prevent visible brush strokes – Professional-looking result |
| Brush towards the edges of the trim | – Clean, neat finish – Prevents drips |
| Avoid overloading the brush | – Prevents excess drips – Minimizes smears |
Conclusion
After considering the type of paint, color, and finish that best suits your style and needs, it is clear that choosing the best paint for trim is essential for achieving a flawless finish in your home. By following proper prep and painting techniques, you can ensure a smooth and long-lasting result.
When it comes to trim paint, it is important to select a paint formulated specifically for trim surfaces. The different sheen options available, such as satin, semi-gloss, gloss, or high gloss, provide the durability and resistance to moisture that trim surfaces require.
Remember to take the time to properly prepare the trim surface, including sanding away rough spots and filling in any imperfections. Use high-quality brushes and paint for smoother application and better results. Working in thin, even coats will help you avoid brush marks and achieve a professional-looking finish.
By choosing the right paint and applying it correctly, you can transform the look of your trim and enhance the overall aesthetic of your space. So, whether you’re refreshing your current trim or embarking on a full home renovation, take the time to select the best trim paint and enjoy the flawless finish it can bring to your home.
