Did you know that after a renovation, the dust particles generated can remain in the air and on surfaces for months? The impact of post-renovation dust goes beyond what meets the eye, affecting the air quality and cleanliness of your home. To ensure a fresh and healthy living environment, it is crucial to properly clean up the dust after renovation. In this article, I will share valuable tips and techniques on how to effectively clean dust after a renovation, allowing you to enjoy the full benefits of your newly renovated space.
Key Takeaways:
- Post-renovation dust can linger for months and affect the air quality of your home.
- Thoroughly cleaning up dust after a renovation is essential for a fresh and healthy living environment.
- Proper dust cleanup techniques and tools can help in removing post-renovation dust effectively.
- Regular post-renovation cleaning maintenance is necessary to prevent the buildup of dust in the long run.
- Consider professional cleaning services if the task feels overwhelming or time-consuming.
The Importance of Post-Construction Cleanup
Post-construction cleanup plays a crucial role in ensuring a safe and healthy living environment after a renovation project. The accumulation of construction dust and debris can pose serious health risks if not properly addressed. Prolonged exposure to these particles can lead to respiratory issues and trigger allergies, causing discomfort and potential harm to occupants.
That’s why it is imperative to prioritize post-construction cleanup and employ effective renovation dust control measures. Thoroughly removing dust and debris will not only enhance the overall cleanliness of the space but also mitigate health hazards associated with airborne contaminants.
Reputable contractors understand the significance of post-construction cleanup and make it an integral part of their services. By offering comprehensive dust removal and cleaning solutions, they ensure that the remnants of the renovation process are properly eliminated. This attention to detail demonstrates their commitment to delivering a finished project that is not only aesthetically pleasing but also safe and healthy.
With renovation dust control in mind, it’s important for homeowners to be proactive in ensuring a thorough post-construction cleanup. By taking the necessary steps to remove construction dust and debris, you can create a clean and comfortable living environment for yourself and your family.
Preparing for Post-Renovation Cleanup
Before diving into the post-renovation cleanup, it’s crucial to take some preparatory steps. By getting organized and taking the necessary precautions, you can ensure an efficient and effective dust clean up process.
- Seal off areas: Begin by sealing off areas that were not affected by the renovation. Use plastic sheeting or painter’s tape to cover doorways and vents. This will prevent dust from spreading to clean areas of your home.
- Protect furniture: Cover your furniture with plastic sheeting or drop cloths to prevent dust from settling on upholstery and surfaces. This will make the cleaning process easier and protect your belongings from potential damage.
- Wear protective equipment: Prioritize your safety by wearing personal protective equipment. Put on goggles to protect your eyes from dust particles and a mask to prevent inhalation. Additionally, wearing gloves can help protect your hands from any chemicals or rough surfaces.
- Have the right tools: Gather the necessary tools for a thorough cleanup. Renting or using a wet-dry vacuum is highly recommended for its powerful suction capabilities. Additionally, having a broom, microfiber cloth, and plastic sheeting handy will make your dust removal process more efficient.
By following these dust clean up tips and preparing your space adequately, you’ll be ready to tackle the post-renovation cleanup with ease.
Dusting Elevated Surfaces and Hard-to-Reach Areas
When it comes to post-renovation cleanup, one crucial step is dusting elevated surfaces and hard-to-reach areas. Dust has a tendency to settle on top of furniture, ceilings, and window sills, so it’s important to address these areas to achieve a truly clean environment.
To effectively remove dust from elevated surfaces, you’ll need a broom or a long-handled duster. Start by dusting the ceiling, followed by windowsills, window and door trim, and any other elevated surfaces in the room. This top-down approach helps to move the dust downward, making it easier to collect and remove.
While dusting, pay attention to corners and crevices where dust tends to accumulate. Be thorough and ensure all surfaces are covered, as overlooking even small areas can lead to a buildup of dust over time.
By addressing elevated surfaces and hard-to-reach areas, you’ll eliminate hidden pockets of dust and achieve a more comprehensive clean. This not only promotes better air quality but also enhances the overall visual appeal of your space.

Dusting Tips
- Use a broom or long-handled duster to reach high surfaces.
- Start from the highest points in the room and work your way down to the floor.
- Pay attention to corners and crevices where dust tends to accumulate.
- Wipe down surfaces with a microfiber cloth to remove any residual dust.
Recommended Tools for Dusting Elevated Surfaces
| Tool | Description |
|---|---|
| Broom | A standard broom with long bristles that allow for reaching high surfaces. |
| Long-Handled Duster | A duster with an extended handle to reach elevated areas without straining. |
| Microfiber Cloth | A soft cloth that attracts and holds onto dust particles for effective cleaning. |
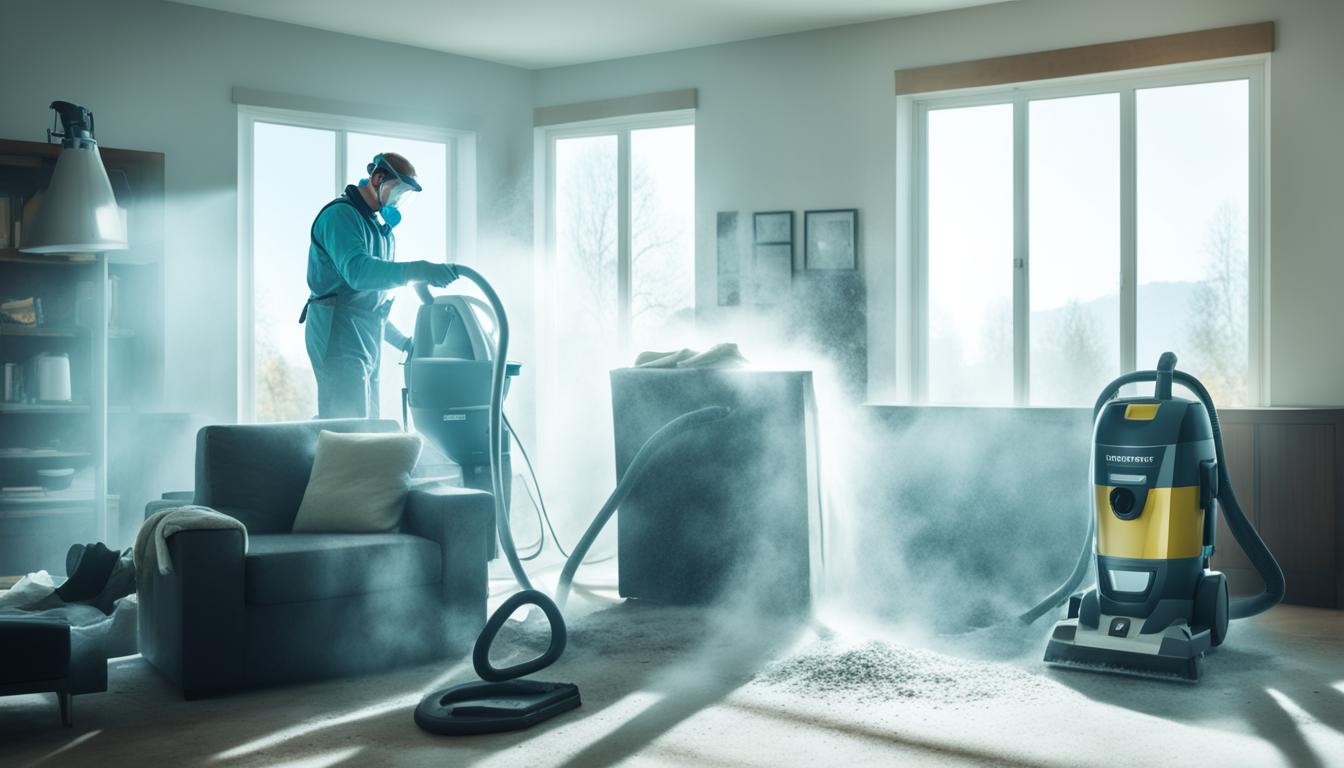
Using a Wet-Dry Vacuum for Efficient Dust Removal
After completing a renovation, one of the most effective tools for dust removal is a wet-dry vacuum. Unlike a regular vacuum cleaner, a wet-dry vacuum is designed to handle larger debris and construction dust that may be left behind. With its powerful suction capabilities, it can easily pick up dust particles from various surfaces.
When using a wet-dry vacuum for dust removal, it’s important to follow these steps:
- Prepare the vacuum: Ensure that the vacuum is clean and free of debris from previous use. Attach the appropriate cleaning attachment, such as a wide nozzle or brush, depending on the surface you are cleaning.
- Start from the top: Begin cleaning from the highest point in the room, such as the ceiling or upper walls, and work your way down. This allows the dust to fall to lower surfaces, which can be cleaned later.
- Make multiple passes: When vacuuming, it’s important to make multiple passes over each surface to ensure thorough dust removal. Pay special attention to corners, edges, and hard-to-reach areas where dust tends to accumulate.
- Be cautious: While using a wet-dry vacuum, be mindful of hidden nails, splinters, or bits of drywall that may have been missed during the initial cleanup. These can cause damage to the vacuum or pose a safety hazard.
By using a wet-dry vacuum for efficient dust removal, you can ensure a clean and dust-free post-renovation environment.

A Comparison of Wet-Dry Vacuums
| Model | Suction Power | Capacity | Attachments | Price |
|---|---|---|---|---|
| Ridgid 50383 | 5 HP | 12 gallons | Extension wands, crevice tool, utility nozzle, dust brush | $199.99 |
| Shop-Vac 5989300 | 6.5 HP | 16 gallons | Extension wands, crevice tool, utility nozzle, gulper nozzle | $149.99 |
| Craftsman CMXEVBE17250 | 6.5 HP | 12 gallons | Extension wands, crevice tool, utility nozzle, car nozzle | $169.99 |
The One-Week Touch-Up
After a week has passed since the initial post-construction cleanup, it’s a good idea to perform a second round of cleaning to ensure any additional dust that may have settled is removed. This one-week touch-up is crucial for achieving a truly dust-free environment. Here are some tips to help you tackle the remaining dust:
- Dust the area: Grab your trusty broom and gently sweep the floors and surfaces to remove any lingering dust. Use a microfiber cloth to wipe down countertops, shelves, and other hard surfaces.
- Mop the floors: After dusting, grab a mop and give your floors a thorough cleaning. Use a mild cleaning solution and follow the manufacturer’s instructions for the best results.
By completing this one-week touch-up, you’ll ensure that your home is truly dust-free and ready to enjoy after the renovation is complete.
Professional Cleaning Assistance
If cleaning up after your remodeling project feels overwhelming or time-consuming, it may be beneficial to consider hiring professional cleaning services. Professional cleaners have the expertise and experience in dealing with post-construction dust and can provide a thorough and efficient cleanup, leaving you with a clean and fresh space to enjoy.
One trusted company that offers exceptional cleaning services is Molly Maid. With their years of experience, Molly Maid understands the importance of a clean living environment and provides custom cleaning schedules tailored to individual needs.
By enlisting the help of professional cleaners, you can save time and effort while ensuring that every nook and cranny is thoroughly cleaned and free of dust. Whether it’s removing the fine particles from hard-to-reach areas or tackling the larger debris, professional cleaning services can make a significant difference in the overall cleanliness of your home.
| Benefits of Professional Cleaning Assistance |
|---|
| 1. Expertise in post-construction dust removal |
| 2. Thorough and efficient cleaning process |
| 3. Customized cleaning schedules to meet individual needs |
| 4. Professional-grade cleaning equipment and products |
| 5. Time-saving solution |
| 6. Dust-free and fresh living environment |
Maintaining Cleanliness After Renovation
Now that you’ve completed the post-renovation cleanup, it’s important to establish a regular cleaning routine to maintain cleanliness in your home. By incorporating simple tasks into your schedule, you can prevent the buildup of dust and ensure a fresh living space.
Start by regularly dusting surfaces using a microfiber cloth or a high-quality duster like the Dyson V15 Detect. This will help remove any accumulated dust particles and keep your home looking its best. Vacuuming is also crucial in controlling renovation dust. Make sure to vacuum floors, carpets, and upholstery on a weekly basis to maintain a clean and dust-free environment.
In addition to regular cleaning, don’t forget to change your furnace filter regularly. This will improve air quality by reducing the circulation of dust particles throughout your house. It’s also a good idea to schedule duct cleaning every few years to remove any accumulated dust and debris.
By following these maintenance tips and utilizing high-quality cleaning tools, you can effectively control renovation dust and enjoy a clean and healthy home for years to come.
Leave a Reply
You must be logged in to post a comment.