Did you know that following the proper sequence of steps can make a significant difference in the success of your kitchen renovation? By organizing and prioritizing tasks in the right order, you can streamline the process and avoid costly mistakes. Whether you’re planning a major remodel or a minor update, understanding the optimal kitchen renovation sequence is the key to achieving your dream kitchen.
Key Takeaways:
- Proper sequencing of kitchen renovation steps maximizes efficiency and minimizes errors.
- Start with tear out and demolition to remove outdated elements.
- Rough-in work, including framing and plumbing, comes next to accommodate design changes.
- Professional inspection ensures compliance with building codes and regulations.
- Finish the walls and install doors and windows for a fresh look.
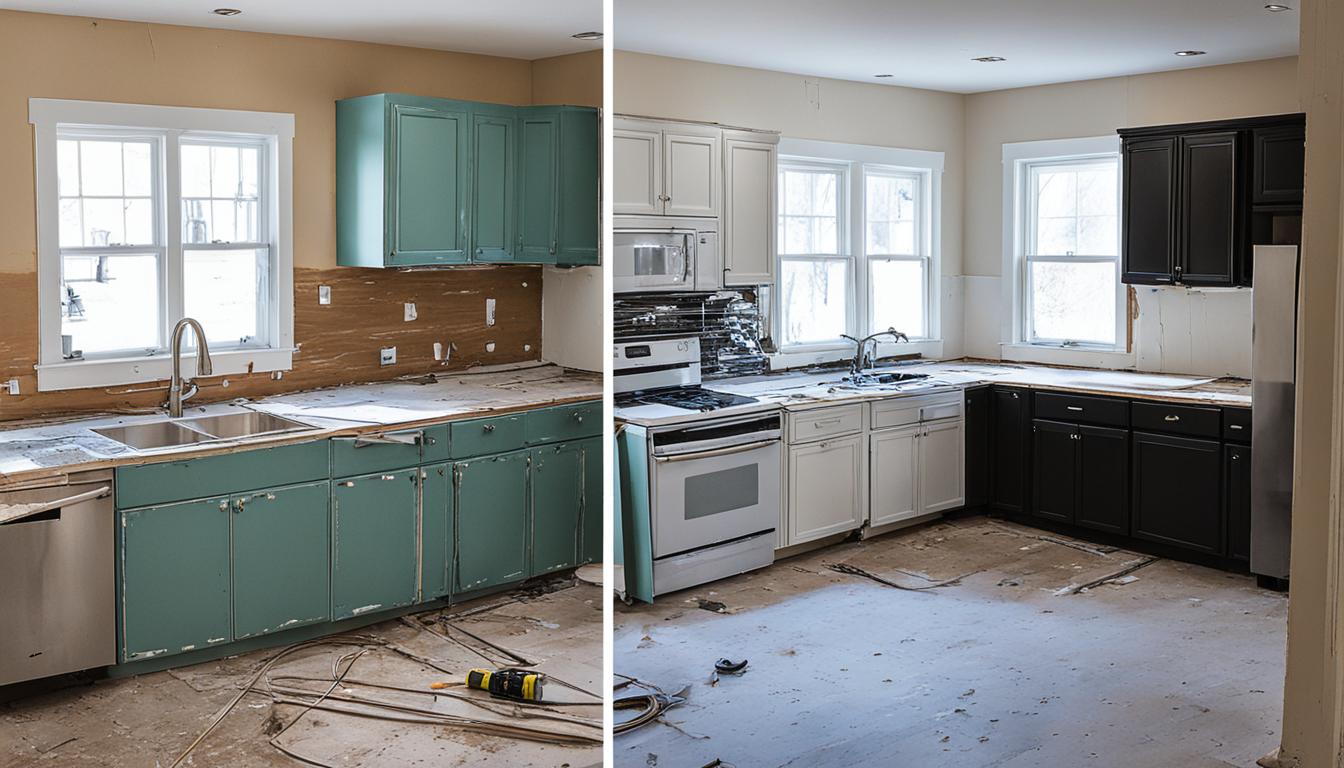
Step 1: Tear Out and Demolition
In the initial stage of a kitchen renovation project, it is essential to tear out and demolish the existing elements that you wish to replace. This includes removing cabinets, fixtures, flooring, and any other components that are outdated or in poor condition. To ensure a smooth and successful demolition process, it is recommended to hire a licensed contractor or professional team with expertise in kitchen demolition. They have the necessary skills and knowledge to handle potential issues with hidden plumbing or electrical systems, ensuring a safe and efficient tear-out.
If you decide to handle the demolition yourself, there are a few important steps to follow. First, turn off the water supply to avoid any leaks or flooding. Then, systematically remove the cabinets and fixtures, using caution to avoid damaging surrounding areas. It is crucial to have a plan in place for disposing of the debris, whether it be renting a dumpster or arranging for debris removal services.
By properly tearing out and demolishing the existing elements of your kitchen, you create a clean slate and prepare the space for the upcoming renovation. This step sets the foundation for a successful transformation and allows for seamless installation of new cabinets, fixtures, and other design elements.
| Tear Out and Demolition Checklist |
|---|
| 1. Hire a licensed contractor or professional team with expertise in kitchen demolition |
| 2. Turn off the water supply before starting the demolition |
| 3. Remove cabinets, fixtures, and flooring systematically |
| 4. Handle debris removal by renting a dumpster or arranging for debris removal services |
| 5. Dispose of hazardous materials safely and in compliance with local regulations |
Step 2: Rough-In Work Including Framing and Plumbing
After the demolition is complete, it’s time to move on to the next crucial step of your kitchen renovation: rough-in work. This phase involves essential tasks such as framing and plumbing that lay the foundation for the rest of the project.
During rough-in work, you have the opportunity to make structural changes to the walls, allowing you to create a new layout that better suits your needs. This may involve moving walls to expand the space, creating additional room for cabinets, appliances, or even a new center island. By reconfiguring the layout, you can optimize the functionality and flow of your kitchen.
Additionally, rough-in work includes repositioning plumbing fixtures to accommodate the new layout. This means adjusting water supply and drainage lines to align with the updated design. Whether you’re moving a sink or installing additional plumbing fixtures, it’s crucial to hire a professional plumber with experience in kitchen renovations.
When it comes to framing, this step allows you to reinforce the structure and ensure stability. It involves building or modifying walls according to the new layout and design plan. Proper framing is essential to support the weight of cabinets, countertops, and other elements that will be installed later in the renovation process.
Overall, rough-in work is a crucial step that sets the stage for the remainder of your kitchen renovation. It involves making structural changes to the walls, moving fixtures, and expanding the space to optimize functionality. Hiring a professional construction crew ensures that the rough-in work is done correctly, meets building codes, and paves the way for the next phases of your kitchen remodel.
https://www.youtube.com/watch?v=l0Fvhv95ygo
Step 3: Professional Inspection
Once the rough-in work is finished, it is essential to undergo a professional inspection to ensure that the renovation meets all building codes and regulations. This step is crucial to ensure the safety, structural integrity, and compliance of your kitchen renovation project.
During the professional inspection, an authorized inspector will evaluate the construction work and confirm that it adheres to the applicable building codes and regulations. This examination will help identify any potential issues or violations that need to be addressed before proceeding with further steps.
The inspection process typically involves scheduling an appointment with the appropriate city or county agency and paying any required fees. It is essential to obtain the necessary permits before the inspection as failure to do so can result in penalties or even halting the renovation process.
If any errors or non-compliance are identified during the inspection, they must be rectified promptly to ensure that the renovation meets the required standards. This may involve making modifications, fixing deficiencies, or addressing any safety concerns.
It is important to note that if you are working with a professional contractor, they will typically handle the inspection process for you. They possess the expertise and knowledge to navigate the inspection requirements, ensuring a smooth and compliant renovation process.
Obtaining a professional inspection provides peace of mind that your kitchen renovation is being carried out according to the highest standards. It validates that the workmanship is up to par, the materials used are appropriate, and the project complies with all relevant codes and regulations. By undergoing a professional inspection, you can ensure a safe, efficient, and successful kitchen renovation.

| Benefits of a Professional Inspection |
|---|
| Ensures compliance with building codes and regulations |
| Identifies and addresses potential issues early on |
| Validates the quality and safety of the renovation work |
| Provides peace of mind for homeowners |
Step 4: Finishing the Walls
After passing the inspection, it’s time to give the walls of your kitchen a polished finish. This step involves the installation of drywall, followed by the necessary procedures to create a smooth and durable surface.
To begin, hang the drywall sheets according to your remodeling plan, ensuring precise measurements and secure attachments. Once the drywall is in place, carefully tape the seams to create seamless joints between the panels. This process helps to reinforce the structure of the walls and prevent any visible gaps.
After taping, it’s time to apply the finishing touches. Using a putty knife, fill any indentations or holes with joint compound, commonly referred to as “mud.” Smooth out the mud with the putty knife, feathering the edges to create a seamless transition between the drywall and the compound.
Once the joint compound is dry, sand the walls to create a smooth and even surface. Sanding also helps to remove any imperfections or rough spots from the previous stages. Be sure to wear protective goggles and a mask to minimize dust inhalation.
After sanding, it’s important to prime the walls before painting. Priming not only helps the paint adhere better but also acts as a barrier, protecting the drywall from moisture and potential damage during subsequent renovation activities. Apply a coat of primer using a roller or brush, ensuring full coverage over the entire surface.
Finally, it’s time to select the perfect paint color and apply it to the walls. Choose a high-quality paint suitable for kitchens, as it will offer enhanced durability and resistance to moisture and stains. Apply the paint evenly using a roller or brush, and allow it to dry completely before proceeding to the next phases of the renovation process.

Now that the walls are beautifully finished, they serve as the canvas for the next stages of your kitchen renovation project. With the walls complete, you can move forward with confidence, knowing that your kitchen is one step closer to becoming the dream space you’ve envisioned.
Step 5: Install Doors and Windows
With the walls now finished, it’s time to move on to installing the doors and windows in your kitchen renovation project. Whether you’re adding new ones or replacing existing ones, this step is essential to enhance the functionality and aesthetic appeal of your space.
Start by carefully measuring the openings to ensure a proper fit for the new doors and windows. If you’re replacing existing ones, remove them and clean the surrounding areas thoroughly. This will help create a clean and fresh canvas for your new installations.
Sealing and insulating are crucial aspects of installing doors and windows. By properly sealing around the frames, you can prevent drafts and enhance energy efficiency in your kitchen. Consider using weatherstripping or caulking to seal any gaps or cracks.
Installing trim around the doors and windows is equally important to achieve a polished look. Trim not only covers any gaps between the frames and the walls but also adds a decorative touch to your kitchen. Choose a trim style that complements the overall design theme of your space.
Remember, this step sets the stage for the next phase of your kitchen renovation, which involves installing cabinets and plumbing fixtures. So take your time and ensure that the doors and windows are properly installed, sealed, insulated, and trimmed.
- Carefully measure the openings and ensure a proper fit.
- Remove existing doors and windows, and clean the surrounding areas.
- Seal around the frames to prevent drafts and enhance energy efficiency.
- Install trim to cover gaps and add a decorative touch.
Step 6: Time for Cabinets and Plumbing Fixtures
Now that the foundation of your kitchen renovation is in place, it’s time to focus on the elements that will bring both style and functionality to your space. Installing cabinets and plumbing fixtures will not only define the look of your new kitchen but also enhance its usability.
Begin by selecting high-quality cabinets and plumbing fixtures that align with your design preferences and functional needs. Measure the available space carefully to ensure a perfect fit. When installing the cabinets, make sure they are level and securely attached to the walls. This will provide a sturdy and durable foundation for your kitchen storage.
Next, it’s time to work on the plumbing fixtures. Install the sink, faucet, and garbage disposal according to the manufacturer’s instructions. This will ensure proper functionality and prevent any leaks or water damage. Take this opportunity to make any necessary minor plumbing adjustments to optimize the performance of your kitchen plumbing system.
Completing the cabinets and plumbing fixtures installation also allows you to move forward with countertop installation. Choose a countertop material that suits your style and budget, and make sure it is cut and installed accurately. A well-installed countertop will not only enhance the aesthetics of your kitchen but also provide a durable and functional surface for food preparation and other daily activities.
Leave a Reply
You must be logged in to post a comment.